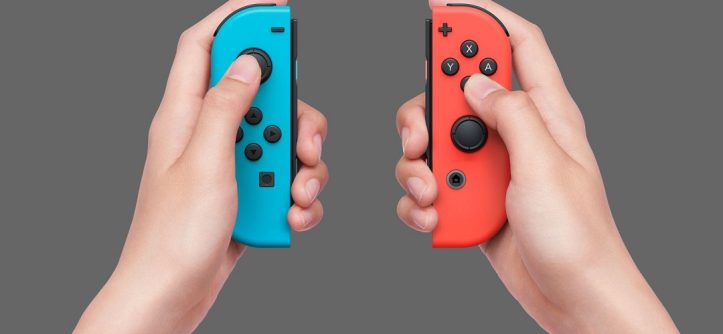
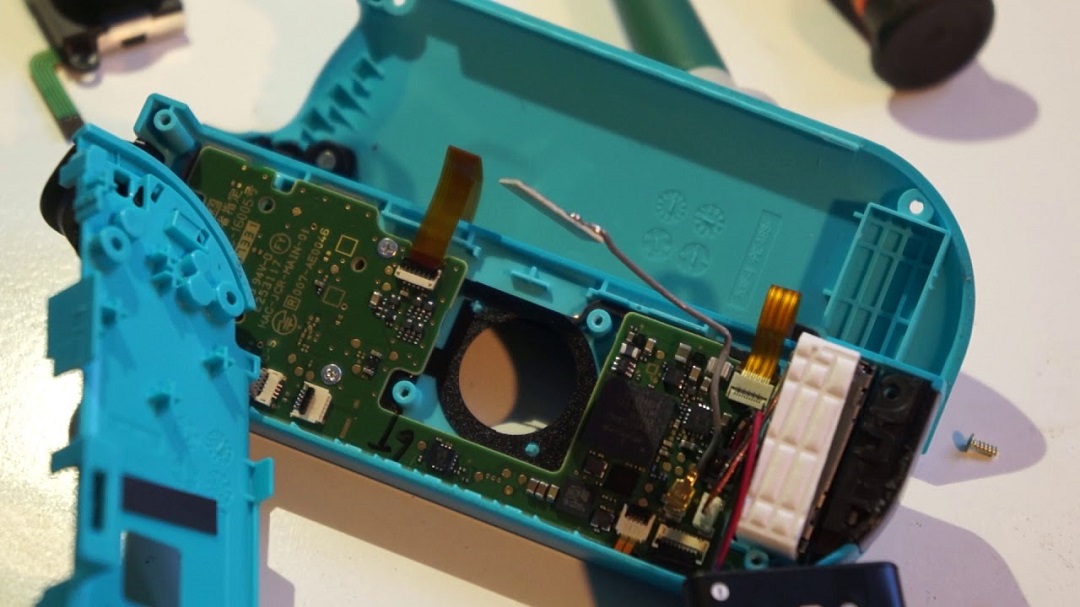
Hey there! So, you’re dealing with the dreaded Joy-Con drift issue, huh? Don’t worry; you’re not alone. Many Nintendo Switch users have experienced this frustrating problem, where the Joy-Con controller registers movement even when you’re not touching it. But fear not! There are some DIY fixes you can try at home to hopefully resolve the issue and get back to gaming without any hiccups.
Here’s how you can fix Joy-Con drift:
- Calibrate Your Joy-Cons: Sometimes, recalibrating your Joy-Con controllers can help alleviate drift issues. To do this, head to your Switch’s System Settings, select Controllers and Sensors, then choose Calibrate Control Sticks. Follow the on-screen instructions to recalibrate the control sticks.
- Clean the Joy-Con Sticks: Dust and debris buildup inside the Joy-Con sticks can cause drift problems. Try using compressed air to blow out any particles that may be trapped inside. You can also use a small amount of isopropyl alcohol on a cotton swab to clean around the base of the control sticks.
- Apply Electrical Contact Cleaner: If cleaning alone doesn’t solve the issue, you can try applying a small amount of electrical contact cleaner to the base of the control sticks. Be sure to use a cleaner specifically designed for electronics and follow the manufacturer’s instructions carefully.
- Replace the Control Sticks: If all else fails, you may need to replace the control sticks altogether. You can purchase replacement Joy-Con sticks online and replace them yourself if you’re comfortable with DIY repairs. Alternatively, you can send your Joy-Cons to Nintendo for repair, although this may incur a cost if your warranty has expired.
- Consider Using a Pro Controller: If you find that the Joy-Con drift issue persists even after attempting DIY fixes, you might want to consider investing in a Pro Controller as an alternative. Pro Controllers are known for their reliability and durability, making them a popular choice among Switch users.
Remember, while these DIY fixes may help alleviate Joy-Con drift issues for some users, they may not work for everyone. If you’re still experiencing problems after attempting these solutions, it may be best to reach out to Nintendo for further assistance.
FAQs (Frequently Asked Questions)
1. What causes Joy-Con drift?
Joy-Con drift is often caused by wear and tear on the control sticks over time, as well as dust and debris buildup inside the Joy-Con casing. Other factors, such as manufacturing defects or environmental conditions, may also contribute to the issue.
2. Is Joy-Con drift covered by warranty?
Nintendo has acknowledged the Joy-Con drift issue and may repair affected Joy-Cons under warranty, depending on the circumstances. If your Switch is still under warranty, you may be eligible for a free repair or replacement. If not, you may need to pay for repairs out of pocket.
3. Can I fix Joy-Con drift without opening the controller?
While some DIY fixes for Joy-Con drift involve opening the controller to clean or replace the control sticks, there are also non-invasive methods you can try, such as recalibrating the Joy-Cons or using compressed air to remove debris.
4. Will DIY repairs void my warranty?
Attempting DIY repairs on your Joy-Con controllers may void your warranty, especially if you accidentally damage the controllers in the process. If your Switch is still under warranty, it’s best to contact Nintendo for assistance before attempting any repairs yourself.
5. How common is Joy-Con drift?
Joy-Con drift is a relatively common issue reported by many Nintendo Switch users worldwide. While not everyone experiences drift problems, it’s prevalent enough to have gained significant attention from both players and Nintendo alike.
Tags: drift, fix, gaming, joy con, Nintendo Switch, repair


Leave a Reply