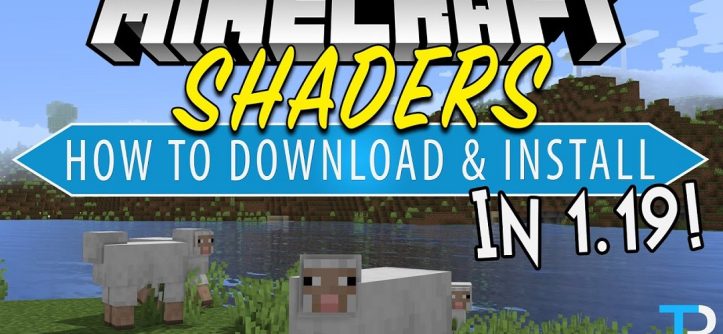
In the world of Minecraft, shaders are like the cherry on top of an already delicious sundae. They enhance the graphics, add depth to the visuals, and overall elevate your gaming experience to a whole new level. But for many players, installing shaders can be a daunting task. Fear not, for in this guide, I’ll walk you through the process step by step, ensuring that you can enjoy Minecraft with stunning visuals in no time.
Understanding Minecraft Shaders
Before we delve into the installation process, let’s take a moment to understand what shaders actually are. In simple terms, shaders are a type of mod that alters the lighting, shadows, reflections, and other visual elements of the game. They add realism and beauty to the blocky world of Minecraft, making it look more like a high-definition masterpiece than a pixelated playground.
What Makes Shaders So Special?
Shaders use advanced rendering techniques to simulate realistic lighting effects such as sunlight filtering through trees, water reflections, and dynamic shadows. This creates a more immersive and visually stunning gaming experience.
Popular Shader Packs
There are numerous shader packs available for Minecraft, each offering its own unique visual style. Some popular options include SEUS (Sonic Ether’s Unbelievable Shaders), Sildur’s Vibrant Shaders, and Continuum Shaders. These packs vary in performance impact and visual fidelity, so it’s important to choose one that suits your preferences and hardware capabilities.
Preparing Your Minecraft Installation
Before you can install shaders, you need to ensure that your Minecraft installation is compatible and properly set up. Here’s what you need to do:
Updating Minecraft
Make sure you’re running the latest version of Minecraft. Shaders may not work properly with older versions, and updating ensures compatibility and access to the latest features.
Installing OptiFine
OptiFine is a Minecraft optimization mod that is essential for running shaders. Download the latest version of OptiFine from the official website and install it by double-clicking the downloaded file.
Selecting a Shader Pack
Choose a shader pack that you want to install. You can find shader packs on websites like CurseForge or Planet Minecraft. Make sure to download a version that is compatible with your Minecraft version and OptiFine.
Installing Shaders
Now that you’ve prepared your Minecraft installation, it’s time to install the shaders. Follow these steps:
Step 1: Open Minecraft with OptiFine
Launch the Minecraft Launcher and select the OptiFine profile from the dropdown menu. OptiFine should now be installed and ready to use.
Step 2: Access the Video Settings
Once Minecraft is open, navigate to the Options menu and select Video Settings. Here, you’ll find all the settings related to graphics and performance.
Step 3: Open Shaders Menu
Within the Video Settings menu, there should be an option labeled Shaders. Click on this option to access the Shaders menu.
Step 4: Install Shader Pack
In the Shaders menu, you’ll see a button labeled Shaders Folder. Clicking on this button will open the shaders folder on your computer. Simply drag and drop the downloaded shader pack file into this folder.
Step 5: Select Shader Pack
After installing the shader pack, return to the Shaders menu in Minecraft. You should now see the newly installed shader pack listed. Click on it to select it.
Step 6: Enjoy Your Shaders
That’s it! You’ve successfully installed shaders in Minecraft. You can now enjoy enhanced graphics and immersive visuals as you explore the blocky world.
Troubleshooting Common Issues
While installing shaders is usually a straightforward process, you may encounter some issues along the way. Here are some common problems and their solutions:
Shader Errors
If you encounter errors or glitches while using shaders, try updating your graphics drivers and OptiFine version. You can also try using a different shader pack, as compatibility issues may arise.
Performance Issues
Shaders can be quite demanding on your computer’s hardware, especially if you’re using a high-fidelity pack. If you experience lag or low frame rates, try lowering your graphics settings or using a less resource-intensive shader pack.
Conclusion
Installing shaders in Minecraft is a fantastic way to enhance your gaming experience and breathe new life into the game’s visuals. By following the steps outlined in this guide, you’ll be able to enjoy stunning graphics and immersive effects in no time. So why wait? Dive into the world of shaders and discover Minecraft like never before!
FAQs
Can I install shaders on Minecraft Bedrock Edition?
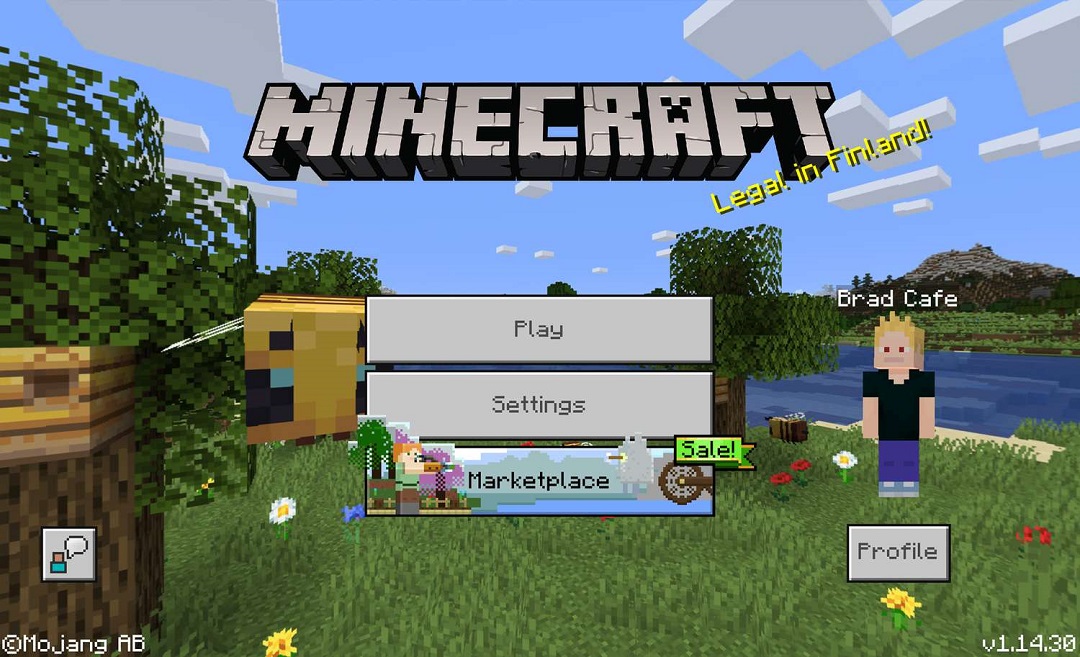
Yes, shaders are available for Minecraft Bedrock Edition, but the installation process may differ slightly from the Java Edition. You’ll need to use a third-party app or mod to install shaders on Bedrock Edition.
Do shaders affect gameplay performance?
Shaders can have a significant impact on gameplay performance, especially on lower-end hardware. If you experience lag or low frame rates, consider using a less resource-intensive shader pack or adjusting your graphics settings.
Are shaders safe to use?
Shaders are generally safe to use and are widely used by the Minecraft community. However, it’s essential to download shader packs from reputable sources to avoid malware or other security risks.
Can I use shaders on Minecraft servers?
Whether you can use shaders on a Minecraft server depends on the server’s settings and regulations. Some servers may allow shaders, while others may restrict or prohibit their use to maintain fair gameplay for all players.
Do shaders work with other mods?
Shaders are compatible with most Minecraft mods, but compatibility may vary depending on the specific mods and shader packs you’re using. It’s always a good idea to check compatibility before installing multiple mods simultaneously.
Tags: gaming, graphics, install minecraft shaders, installation, minecraft, minecraft shaders, mods, shaders, tips, tutorial, video games
Leave a Reply