check system power error asus? Encountering a check system power error on ASUS computers can be frustrating, especially when you don’t know what caused it or how to fix it. Whether you’re in the middle of an important task or simply enjoying some gaming, these unexpected errors can stop you in your tracks. In this guide, we will explore common causes, easy troubleshooting steps, and expert insights to help you get your ASUS machine back up and running.
Before diving deep into the fixes, it’s a good idea to explore Ask4files for additional resources, guides, and expert advice that might help you further troubleshoot system-related errors.
Let’s take a look at everything you need to know about the “check system power error ASUS” and how to resolve it.
What is the “Check System Power Error ASUS” Message?
When you power up your ASUS device, you may see a check system power error on the screen. This message typically appears when there’s an issue with the computer’s power supply, motherboard, or the power management system. The error often occurs during boot-up, and it can prevent your machine from starting properly.
This error is common with ASUS motherboards and may be caused by several different factors, including:
- Faulty or incompatible power supply
- Overclocking issues
- Problems with motherboard connections or components
- Power management settings
- BIOS or firmware issues
Each of these factors can trigger the check system power error on your ASUS device.
How to Fix the “Check System Power Error” on ASUS Devices?
Now that we know what causes the error, let’s explore how to fix it. Here are some straightforward troubleshooting steps to help you resolve the issue.
-
Check the Power Supply Unit (PSU)
A faulty power supply is one of the most common reasons behind the “check system power error.” If your PSU isn’t working properly or is underpowered for your system, the motherboard will not receive enough power to boot up.
- What to Do:
- Ensure your PSU is rated appropriately for your system. For instance, if you have a high-end graphics card or multiple drives, a 400W PSU might not suffice.
- Check the PSU cables to ensure they are securely connected to the motherboard and other components.
- If possible, test with a different PSU to rule out the power supply as the cause of the issue.
-
Clear the CMOS to Reset BIOS Settings
Sometimes, BIOS settings can get corrupted or misconfigured, leading to a power-related error. Resetting the CMOS can help restore default BIOS settings, fixing any overclocking or power management issues.
- What to Do:
- Turn off your computer and unplug it from the power source.
- Locate the CMOS battery on the motherboard (it’s a small, round, silver coin).
- Remove the battery for about 5 minutes and then reinsert it.
- Alternatively, use the “Clear CMOS” jumper, which is located near the battery on most motherboards.
- Restart your computer and check if the issue persists.
-
Check for Overclocking Issues
Overclocking is a popular way to enhance a system’s performance, but it can also lead to stability issues. If you’ve overclocked your CPU, GPU, or RAM, the system might be consuming more power than what is being supplied, causing errors like the “check system power” message.
- What to Do:
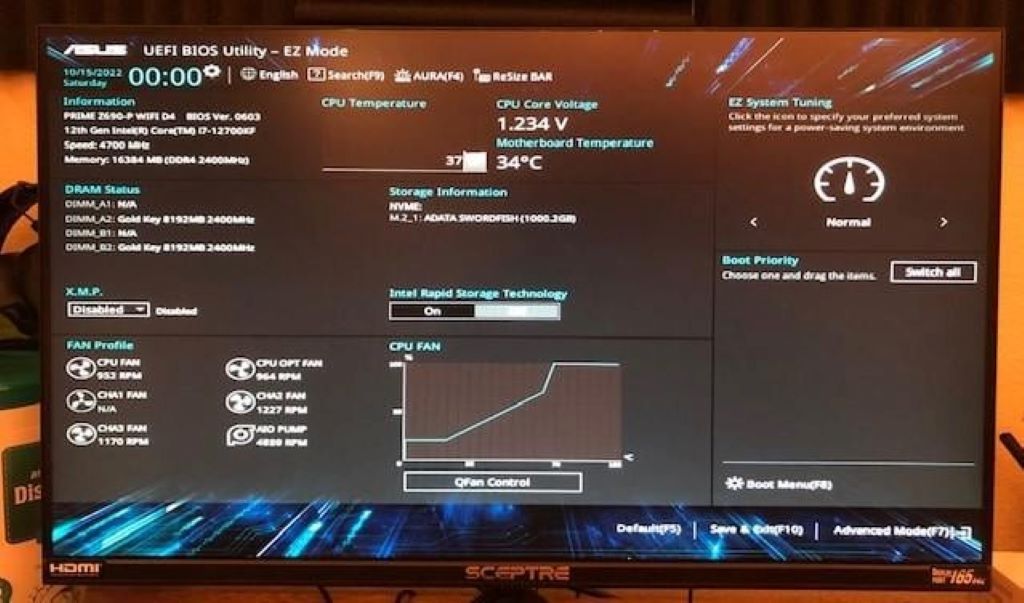
- Enter the BIOS and check if your CPU or GPU has been overclocked.
- Reset all settings to default if you’re unsure about the overclocking configuration.
- Reduce the clock speeds and voltages for better power management.
-
Inspect and Re-seat Components
A loose or improperly connected component can often lead to power issues. The error might be caused by RAM, CPU, or GPU that is not properly seated in its respective slot.
- What to Do:
- Power off your system and unplug it.
- Open the case and carefully remove and re-seat your RAM sticks, CPU, and GPU.
- Check the power connectors to ensure everything is connected tightly.
- Also, make sure there’s no dust or debris in the connectors, as this can affect performance.
-
Update Your BIOS and Drivers
An outdated BIOS or system driver might cause compatibility issues with the power management system, triggering the error message. ASUS releases BIOS updates regularly to fix bugs and improve system stability.
- What to Do:
- Visit the ASUS support page for your motherboard or laptop model.
- Download the latest BIOS version and follow the instructions carefully to update it.
- Additionally, ensure all drivers (especially chipset and power management drivers) are up-to-date.
-
Inspect the Motherboard for Faults
If all else fails, a hardware fault in the motherboard itself could be the root cause. If the motherboard’s power circuitry is damaged, you might see the check system power error.
- What to Do:
- Visually inspect the motherboard for any signs of physical damage such as burnt components or leaking capacitors.
- If you notice any issues, it might be time to replace the motherboard or contact ASUS support for warranty options.
How to Check Your CPU Temperature: A Comprehensive Guide for All Levels
What to Do if You Encounter the ASUS D6 Error?
If you encounter the ASUS D6 error, it is an indication that there might be an issue related to the memory or the system’s boot sequence. It’s essential to address this problem promptly to avoid further complications.
- What to Do:
- Power off the device, remove the memory sticks, and re-seat them in their slots.
- Check for any bent pins on the memory slot or motherboard.
- If the issue persists, try using different RAM sticks or test the memory slots one by one.
For more detailed solutions and in-depth troubleshooting of the ASUS D6 error, learn ASUS motherboard error codes.
You Might Enjoy: The Power of the Blank Canvas: Understanding Your PC’s Internal Workings
Prevention Tips for the “Check System Power Error” on ASUS Devices
Once you’ve resolved the issue, it’s important to take steps to prevent it from happening again. Here are some tips to help you avoid the “check system power error” in the future:
- Regular Maintenance: Ensure that your system is clean and free from dust. Clean components regularly and check for loose connections.
- Monitor System Health: Use system monitoring tools to keep an eye on your power usage, CPU temperature, and voltage. This can help you catch potential problems before they cause system crashes.
- Avoid Overclocking: While overclocking can improve performance, it can also stress your power supply and motherboard. Avoid excessive overclocking, especially if your PSU is not top-rated.
- Use a Quality PSU: Invest in a high-quality, appropriately sized PSU for your system’s needs.
Conclusion
In conclusion, the check system power error on ASUS devices is a common issue that can stem from various causes, including faulty power supplies, BIOS problems, overclocking, or hardware issues. By following the troubleshooting steps provided in this guide, you should be able to fix the error and restore your device’s functionality. Always perform regular maintenance and check for driver updates to avoid similar issues in the future.
If you find that the problem persists, don’t hesitate to contact ASUS customer support or visit relevant online forums to get further help.


Leave a Reply