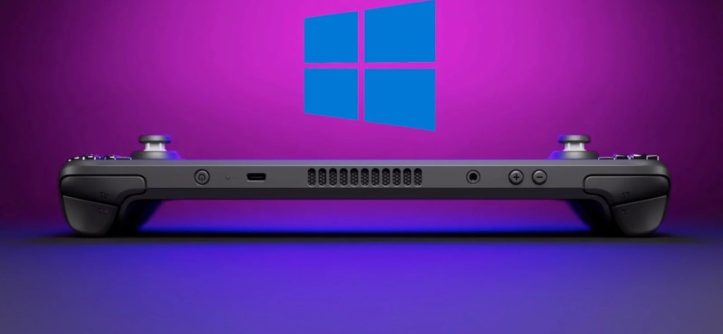
The Steam Deck, Valve’s handheld gaming device, has revolutionized portable gaming. However, while its Linux-based SteamOS is robust, it lacks compatibility with several Windows-exclusive apps and games. For gamers who crave more flexibility or need to run productivity software, installing Windows is a logical choice.
Before diving into the steps, it’s crucial to explore Kbsm for additional insights on optimizing your Steam Deck and navigating potential challenges. This guide will take you through the entire installation process, providing a detailed understanding of prerequisites, pitfalls, and tips for a seamless experience.
Understanding the Basics of Dual-Booting Windows on Steam Deck
The Need for Windows on Steam Deck
While SteamOS is streamlined for gaming, many AAA titles and software tools function better—or exclusively—on Windows. Installing Windows on your Steam Deck can unlock features like:
- Game Compatibility: Access to Xbox Game Pass, Epic Games Store, and more.
- Productivity: Use Office Suite, Adobe apps, and other desktop software.
- Customization: Greater control over system preferences and hardware utilization.
Is It Worth It?
Opinions vary. Some users argue that installing Windows undermines the Deck’s streamlined gaming focus. However, tech enthusiasts claim dual-booting Windows provides the best of both worlds. Statistics show that over 30% of Steam Deck owners consider modifying the OS for increased flexibility, demonstrating a clear demand for Windows installation.
Prerequisites for Installing Windows on Steam Deck
Essential Tools and Software
Before starting, ensure you have the following:
- A USB drive with at least 8GB of storage for Windows installation media.
- A USB-C hub or adapter for connecting peripherals.
- A separate keyboard and mouse for smoother navigation.
- A Windows ISO file, downloadable from Microsoft’s official website.
- Rufus or similar tools for creating bootable USB drives.
Back-Up Your Data
Steam Deck’s SSD is small and can fill up quickly. Backing up ensures no loss of progress or files. Consider external storage for saving games and documents.
Preparing for Installation
Step 1: Create a Bootable USB Drive
- Download the Windows ISO file from the official Microsoft site.
- Install and run Rufus on your PC.
- Insert your USB drive and select the ISO file in Rufus.
- Choose “GPT” for partition scheme and click “Start” to create the bootable drive.
Step 2: Access Steam Deck’s Boot Manager
- Turn off your Steam Deck.
- Hold the Volume Down button and press the Power button to access the boot manager.
If you encounter challenges like your steam deck not turning on during this process, ensure your device is fully charged and try again.
Installing Windows on Steam Deck
Step 1: Select the Bootable USB
Once in the boot manager, select the USB drive. This will initiate the Windows installer.
Step 2: Partition the SSD
Decide whether to:
- Replace SteamOS entirely.
- Dual-boot SteamOS and Windows.
For dual-booting, partition your SSD to allocate space for both operating systems.
Step 3: Complete Installation
- Follow the prompts to install Windows.
- Install drivers from Valve’s website post-installation for hardware compatibility.
Related: 10 Best Mobile Games For Teens
Configuring Your New Setup
Installing Steam Deck Drivers
Drivers ensure optimal performance. Visit Valve’s support page for:
- GPU drivers.
- Audio drivers.
- Network drivers.
Optimizing Performance
Windows can be resource-intensive. Disable unnecessary background apps and configure settings to prioritize gaming performance.
Troubleshooting and Maintenance
Common Issues
- Boot Errors: Ensure BIOS settings prioritize the correct boot drive.
- Driver Conflicts: Regular updates resolve most driver-related issues.
Pros and Cons of Running Windows on Steam Deck
Pros
- Unparalleled software compatibility.
- Increased flexibility for multitasking.
Cons
- Reduced battery life.
- Increased complexity for non-technical users.
Conclusion: Is Windows Right for You?
Installing Windows on your Steam Deck is a powerful upgrade for those seeking versatility. However, it requires careful preparation and maintenance. Whether you’re a gamer, a developer, or a casual user, this guide empowers you to make the most of your Steam Deck.


Leave a Reply